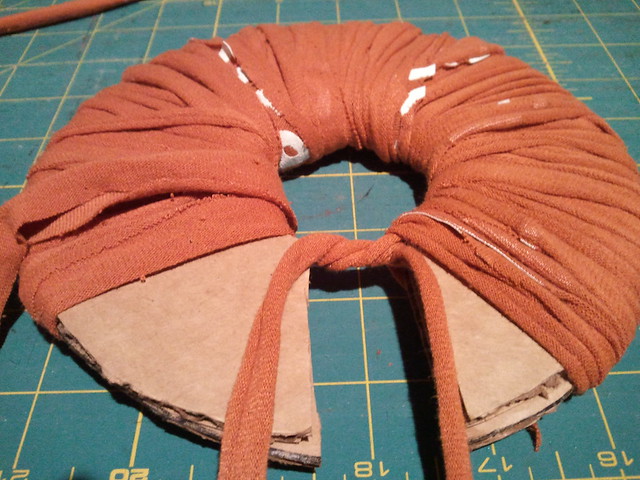
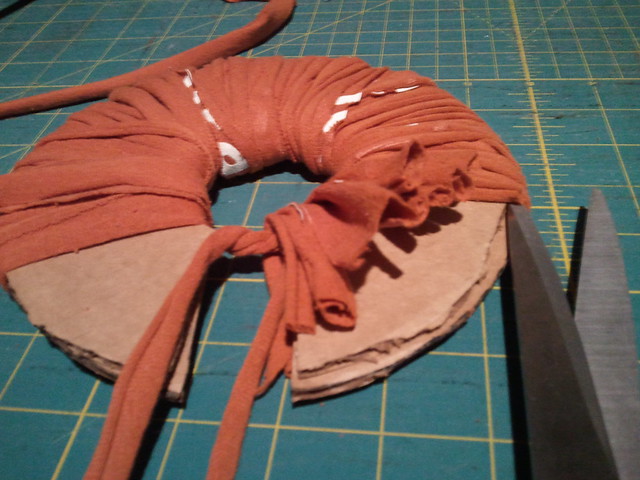
I've been working in t-shirts as an expressive medium since I discovered how forgiving knits are: they are affordable, accessible, stretchable, and they don't fray. When I discovered that there was another way to create t-shirt yarns with them them, besides
THIS ZIGZAG METHOD of getting stranded, I was completely astonished that I had overlooked it for so long. Never stop learning!
The difference in methods is that this one must have a "closed circuit loop" of fabric (perfect for the body area of the t-shirt), and that you come away with a long seamless strand. In the other method the advantage is that you can use any scrap fabric, but that in turning the corner of a flat fabric creates "ears" that pop up out of the crochet.
This seamless yarn idea is based on the fact that you could cut a spiral into the shirt starting at the bottom of the bodice, winding around and around the closed loop until you reached the armpits, you could walk away with much usable seamless yardage. If only this method, done with a scissors, wasn't completely inefficient and difficult to keep accurate!
YOU'LL NEED:
-rotary cutter
-self healing mat
-dowel
-fabric scissors
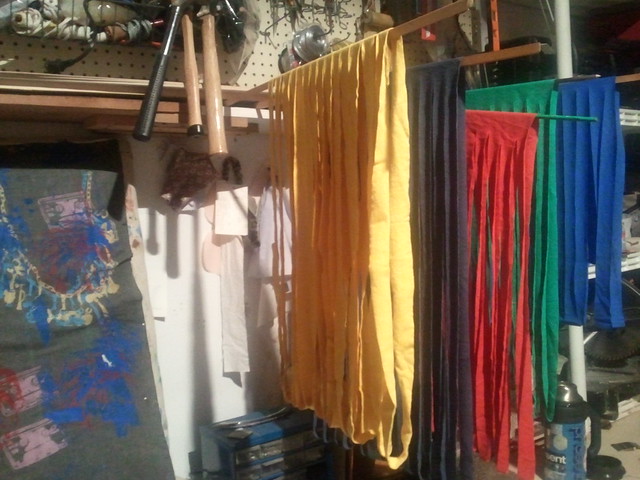
-lots of old shirts!
Here is the deal:
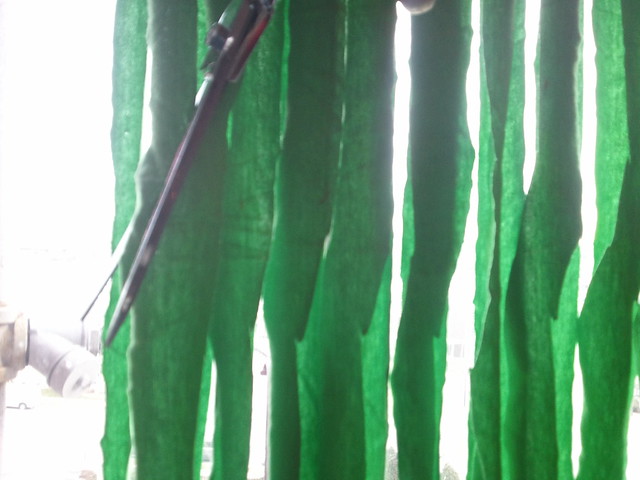
-Cut the arms off from under the armpits.
-Slice a series of 1" fringe strips through both layers into the side of the bodice of the shirt, stopping before you get to the other side so that they remain attached on one side.
-Slide a dowel into the side that remained closed.

-Lift the dowel up from the self-healing mat.
-Roll the dowel towards you in your hand so that the connecting strip is on the front of the dowel. This may require some handi-work to adjust and unstick the side of fabric from one another.
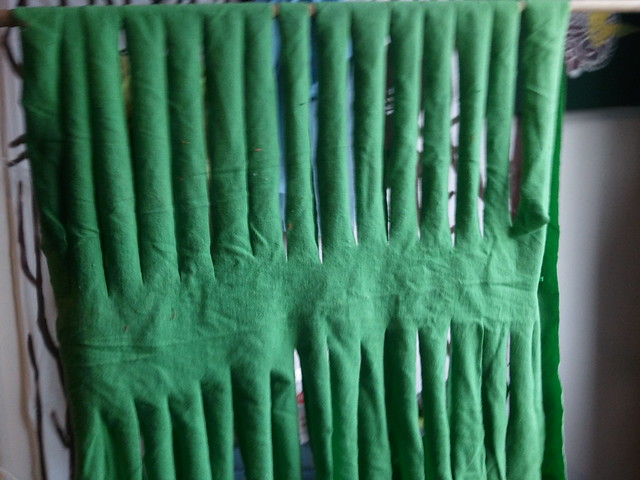
-Find a place to hang your finished slitted T-shirts. I like to wedge the dowels under a slab of paper. I can easily "page" through them as I do the following steps:
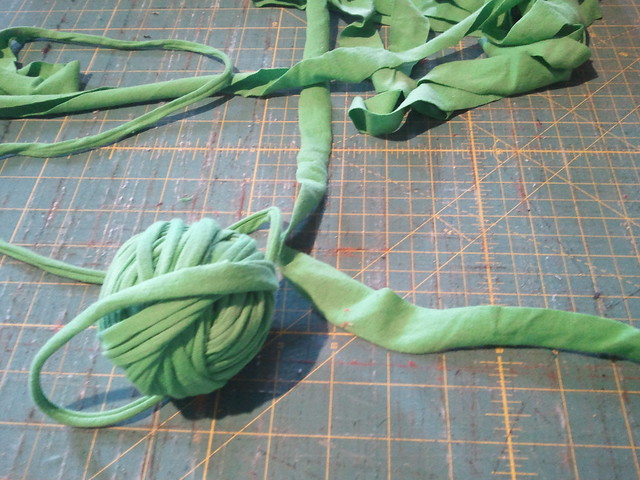
The point of this phase is to "connect" these loops together by cutting diagonally between them, so that each rung leads to the next, rather than being cut into individual loops. The result is a seamless spiral that can be "pulled" to roll the seams into eachother and stretch the yarn out.
-Use a scissors to cut into the first loop on a diagonal. Cut from the first loop to the outside edge on a diagonal.
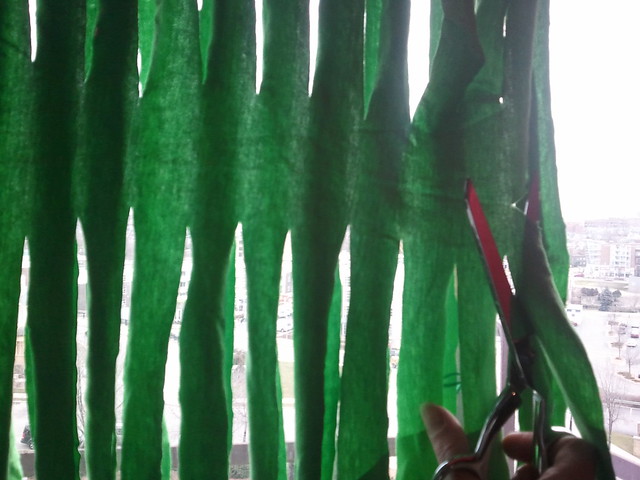
-Using the same diagonal angle, continue to connect the loops by cutting them diagonally one-to-one through the top and bottom of the closed area.
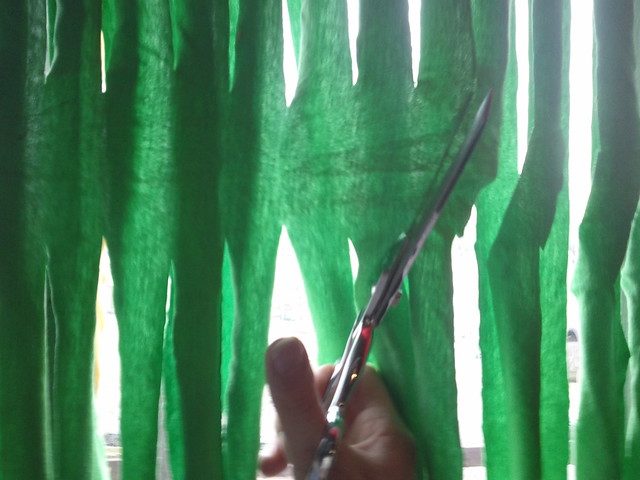

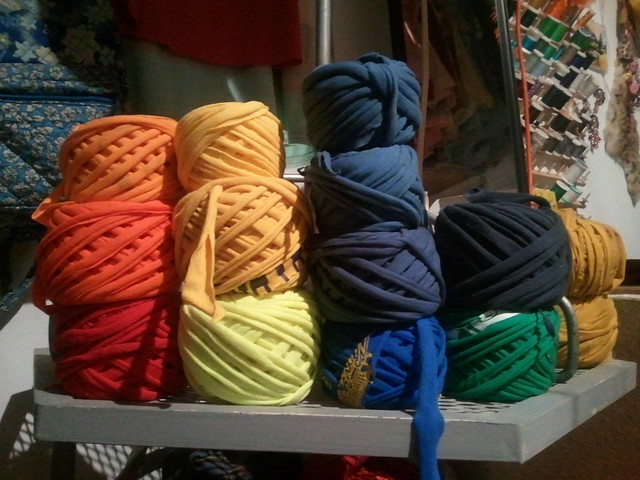
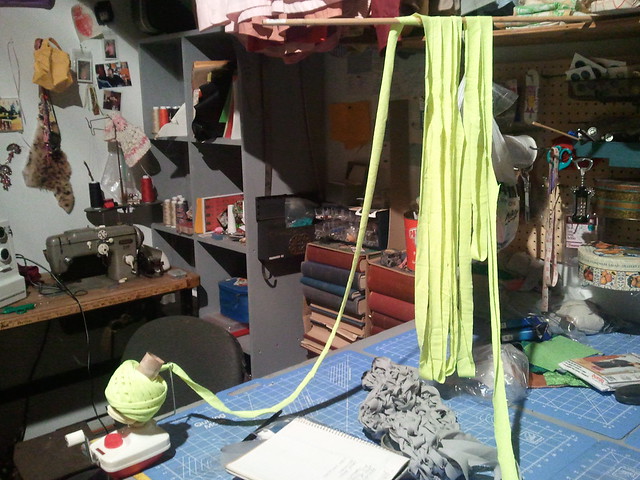
The result is a long spiral that sits looped loosely on the dowel. You can then pull the yarn to make it both longer and thinner, watching the edges curl in on themselves. These can be wound around a small piece of cardboard or just around itself. However this can be hard on your fingers and likes to jump around.
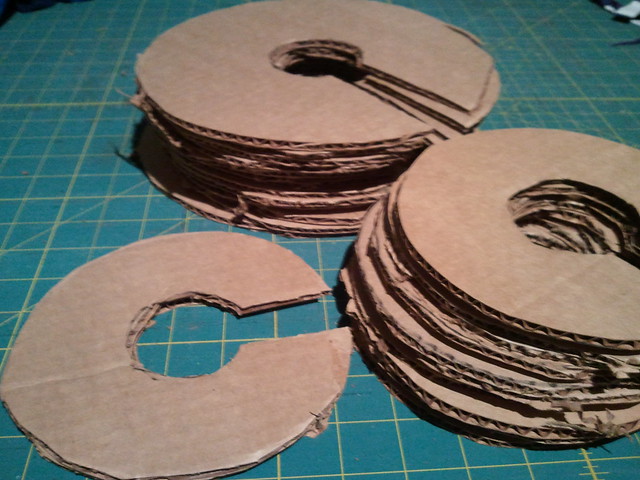
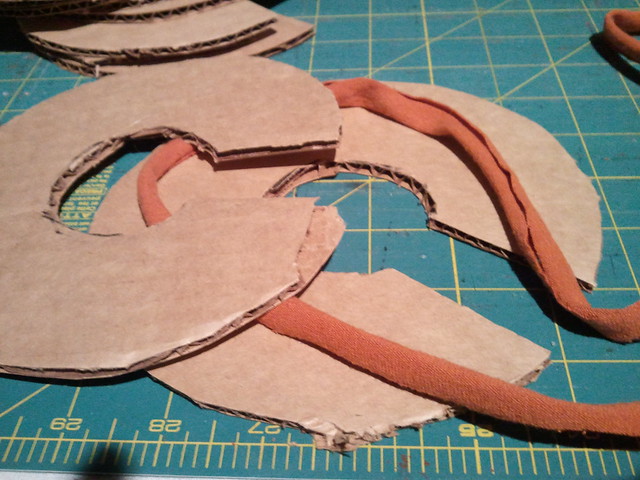
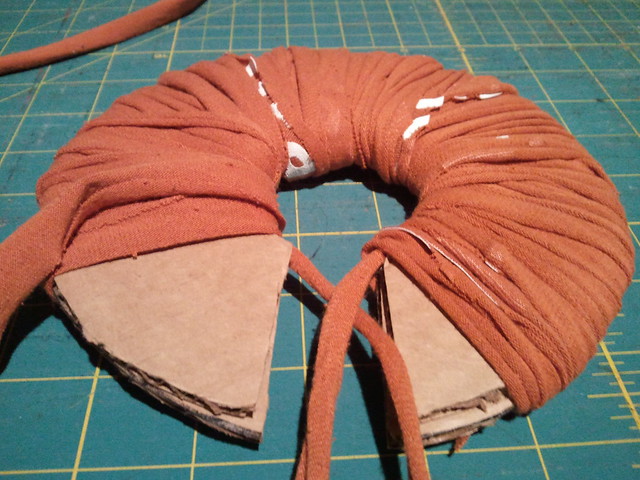
If you are a wizard about this and are planning on making many spools of T-yarn, I recommend digging about for one of these tools, which magically appeared before my eyes the week after I'd learned of T-yarn and longed to invent a spool winder out of an exercise bike (still in the works)

This one came without a spool that would nicely lock into place! I was able to use a tp roll, and tape it to the spool base quite nicely. The Wool Winder secures itself to the edge of the table with a little knobbed clamp. You simply tie the yarn onto the spool and begin winding.
The main tip is that sometimes you have to stop and pull out the yarn as you go. I also like to lead the yarn into the spool guide to avoid any misgivings keep a steady feed.
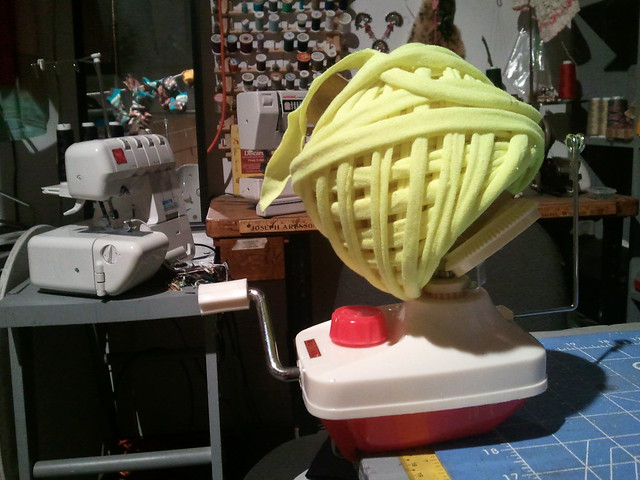
This method was so unbelievably easy and creates a sexy woven look that slides off the spool and into a treasury.