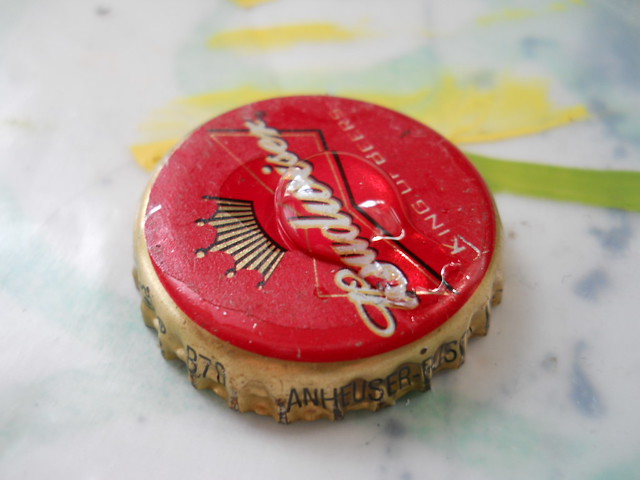
Making bottle cap magnets is a fun way to upcycle bottle-caps. Ask a bartender to save them for you for 1 week, and your heart will grow to match the size of the mass that has just been rescued from the landfill. Besides bottlecaps, you will need the following:
-white glue
-paint brush
-magazines, photo, collage materials
-small magnets
-e6000 craft glue
-easycast epoxy
-blow dryer
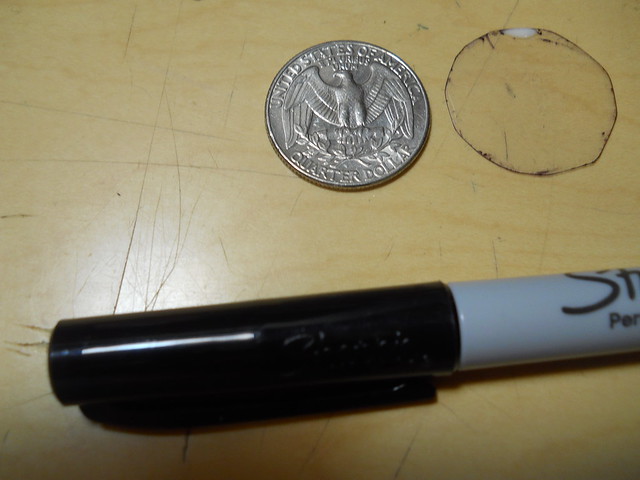
Pictures that fit inside of bottlecaps are exactly the size of a quarter. Trace a quarter onto a transparency page a few times as a set of see-through templates (they are very easy to loose). No matter how small your image, the proper cropping is essential.
Choose your paper materials, tear the pages out that appeal, and then go through your stacks to trace the images. Its always fun to see if you can remember why you thought a page was cool. Its important to tear them out so that its easier to cut the images. Always check the backs of each sheet to make sure not to miss anything.
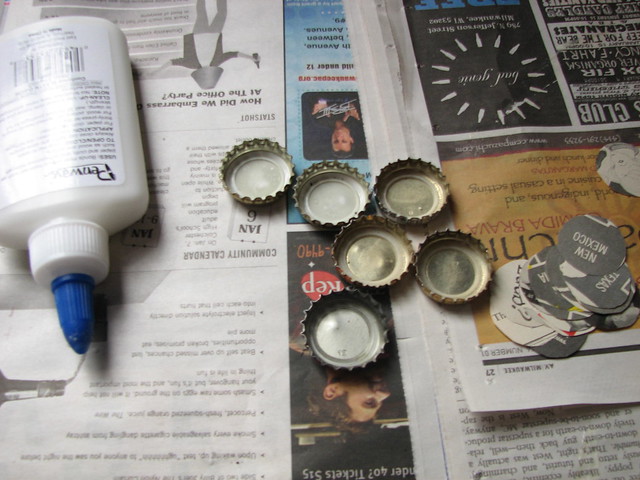
Next, break out the brushes and the glue:
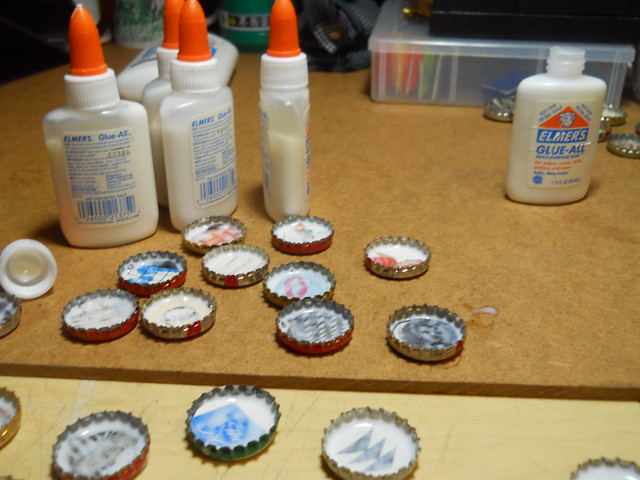
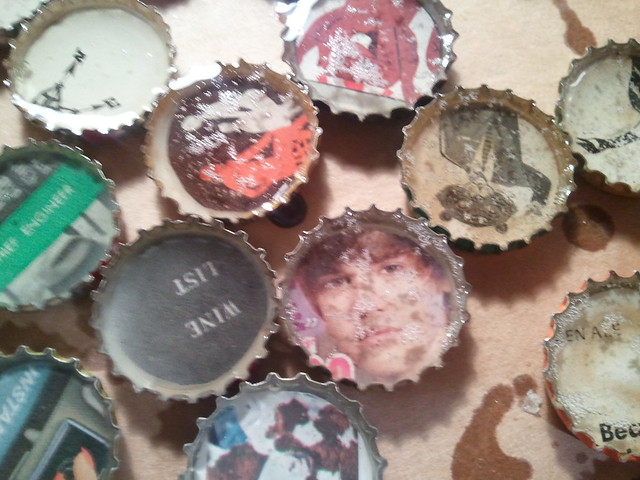
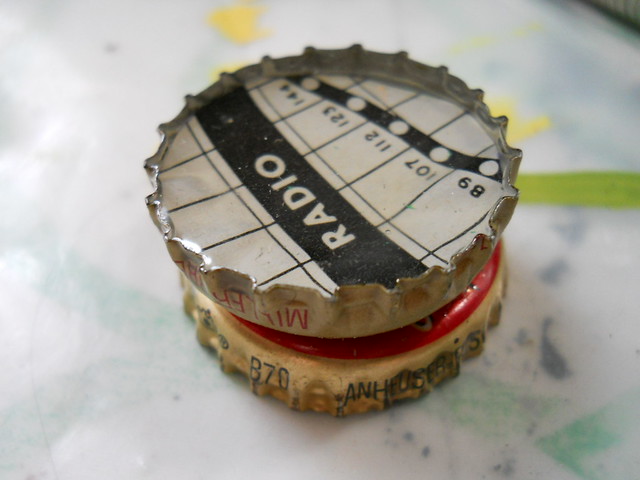
Put the glue in each bottle cap, brush it around, and top it with an image. Then put a coat of glue over the image and let it dry.
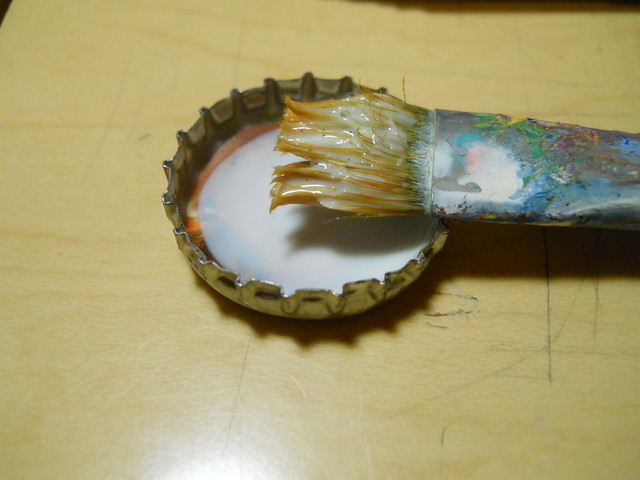
Do this twice. Wait til the first layer dries and then add another. It is important to coat it with two layers of glue because if the epoxy touches the images it will turn the paper translucent, and both images from the front and back will appear. Two layers insures that there are no gaps. Make sure to get the edges of the image meet the sides of the cap.
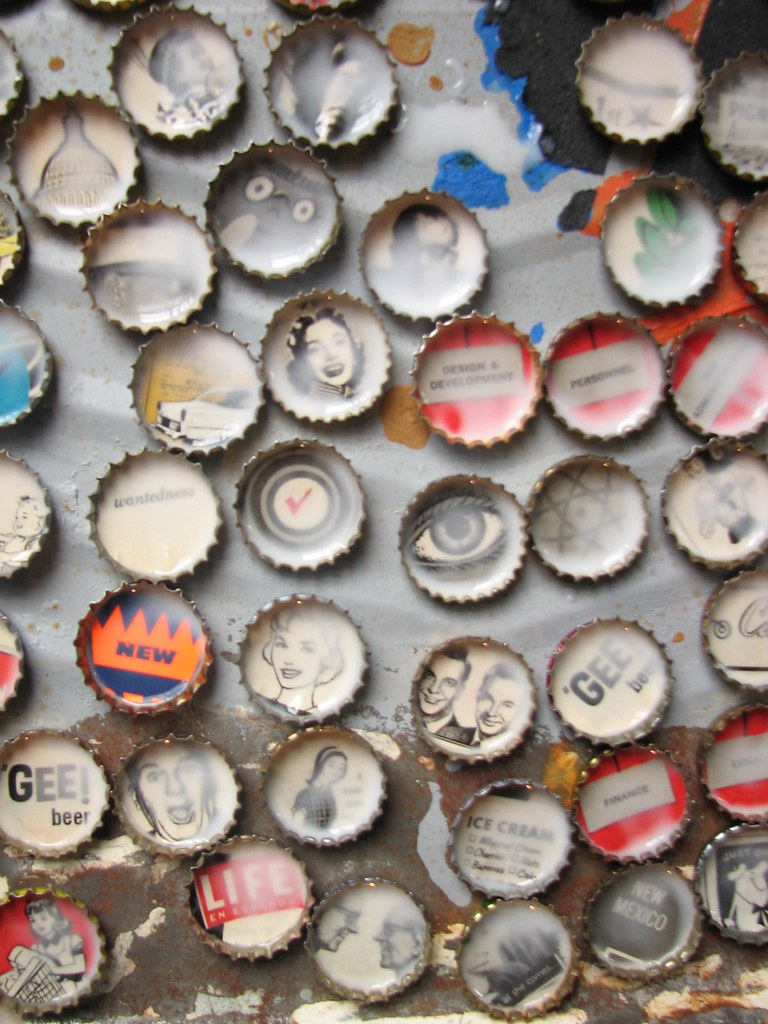
Its a little scary to watch your images disappear below a white puddle. But no matter how thick it is, the glue always dries clear! Its like watching a polaroid come to light, only it takes a tad longer.
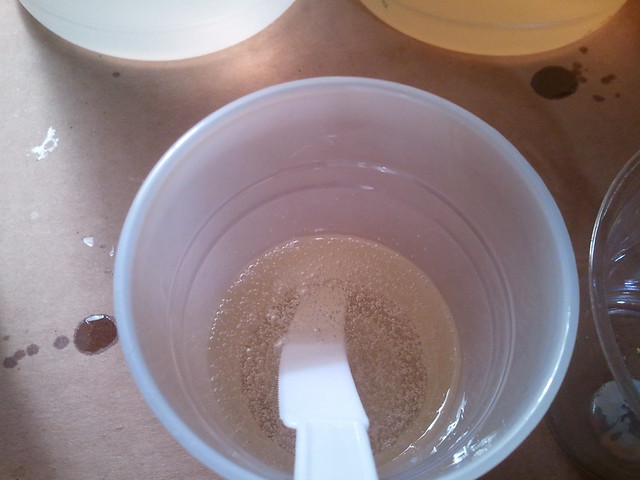
This is EasyCast, (below is a product link), an easy epoxy resin that can be used to make bottle-cap buttons. It is better than other forms of epoxy because a blowtorch is not necessary to get the bubbles out. You must use equal parts and stir until completely homogenized, which, in the process, creates bubbles! However, bubbles will not be a problem, because Easy Cast is self -leveling, meaning the bubbles mostly rise on their own.
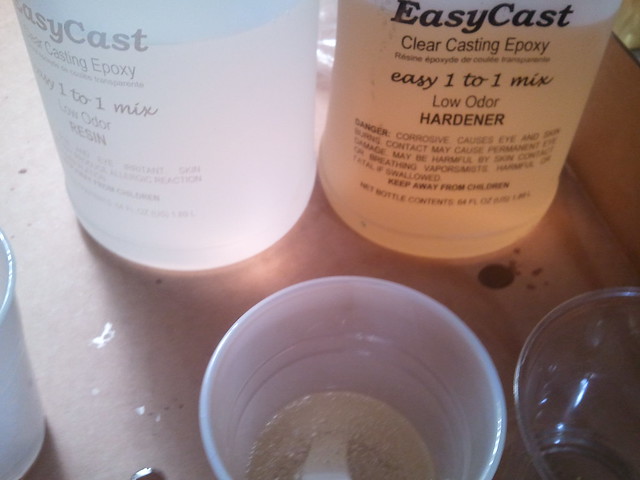
 Castin' Craft ETI33016 Castin' Craft EasyCast Clear Casting Epoxy
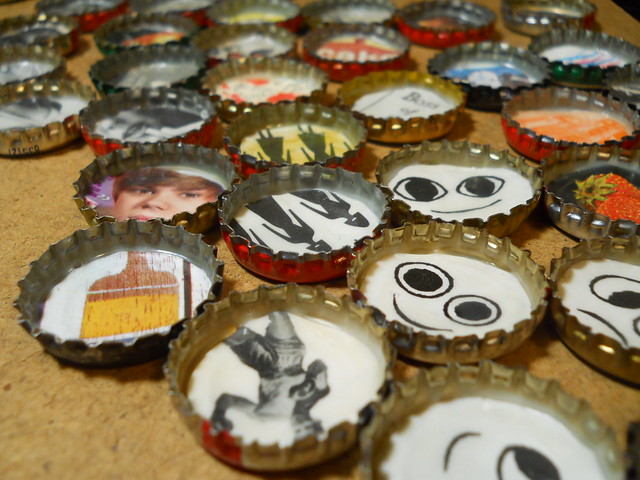
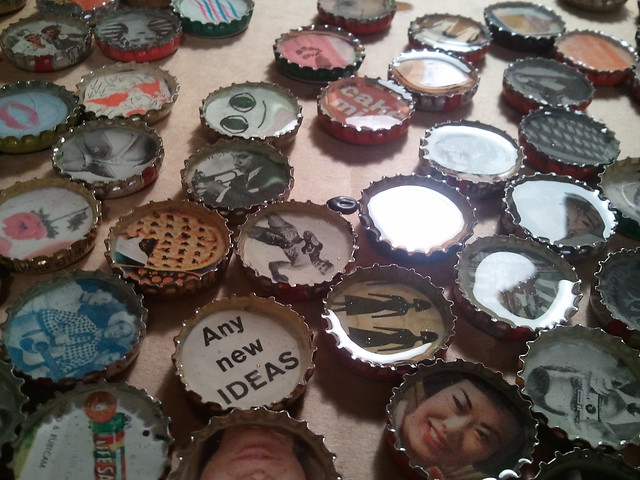
Use a cardboard box to pour them in so that you can move them if you need to. As you can see, they still have many bubbles. Justin Beiber does not look happy about it.
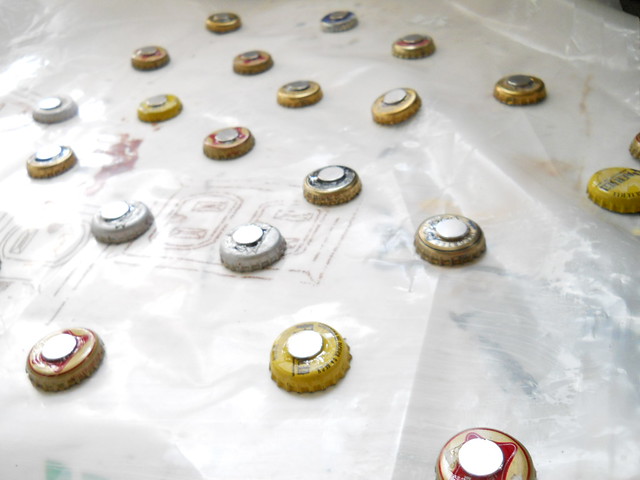
The bubbles that do not rise and pop on their own can be coaxed to the surface gently using a blow dryer with a little high frequency wrist-flicking. Try not to let the caps spill.
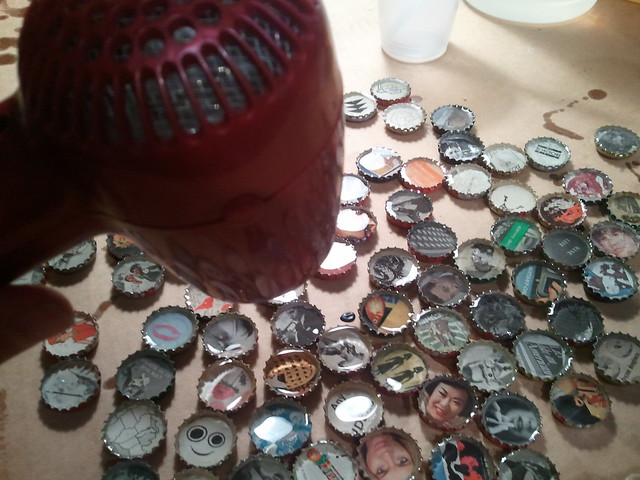
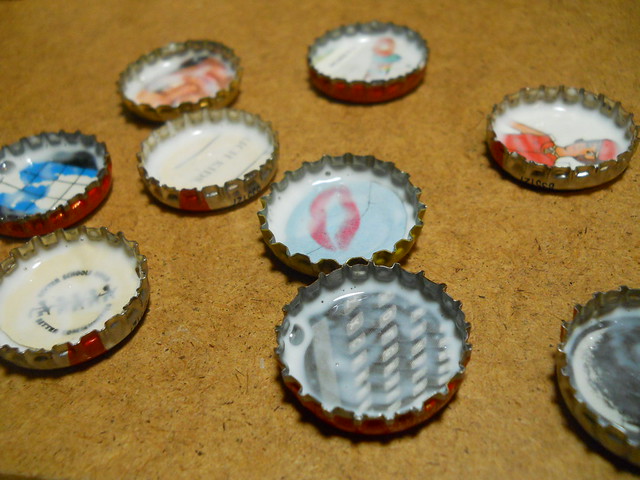
The result is a smooth surface. Any spilled overflow from the caps can be peeled later with a pliers.
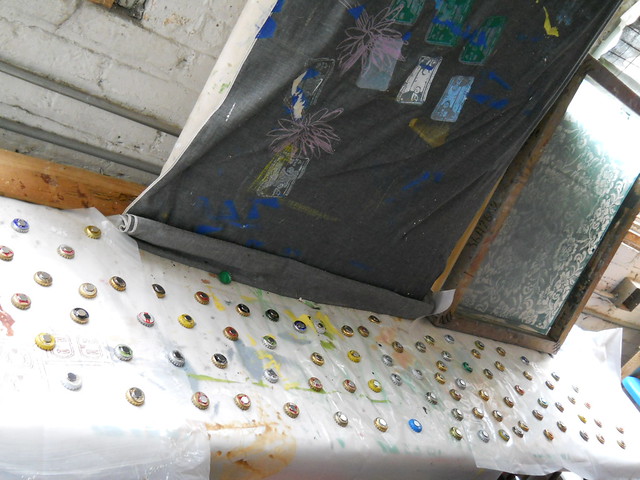
Even though they may look dry, wait at least 2 days before stacking or bagging them. If the epoxy is soft in any way, unexpected imprints can be made in the preciously smooth surface. Now its time to glue the magnets on the back!
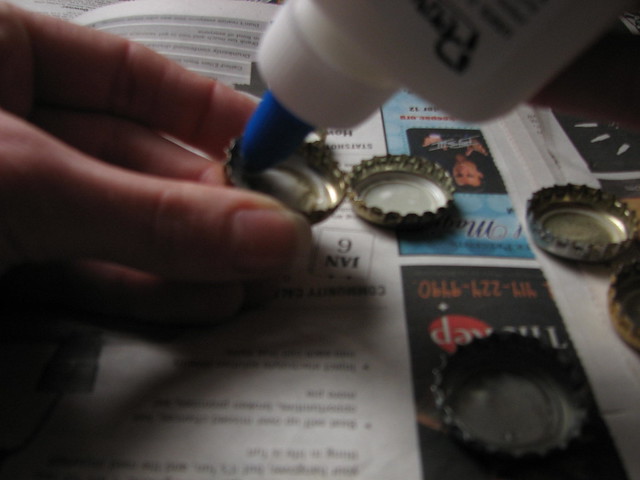
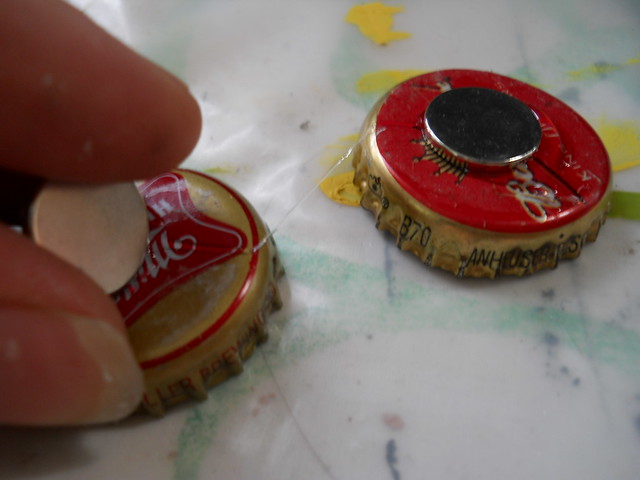
The thinner and stronger the magnets, the better, so order them online unless there is a major magnet specialist in the area. Just like love, the magnets do not need to poke off the surface a million miles to be strong magnets. Use E6000 craft glue, available at most craft supply and fabric stores. It has to be stronger than the magnets themselves.
Put some glue on the back of the cap
Put another cap on the glue
Pull them apart and you will have just the right amount of glue on two caps, for a small magnet:
Drop the magnets on the caps:
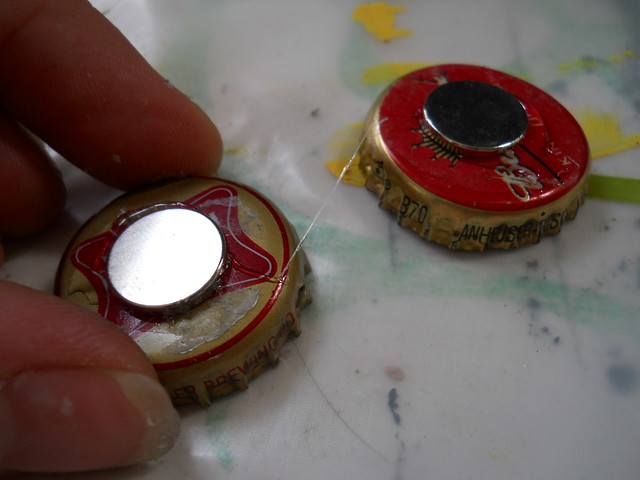
Then, place the magnetized caps on a drying area, far enough apart that they will not snap together by magnetized pull, otherwise, what a mess!