
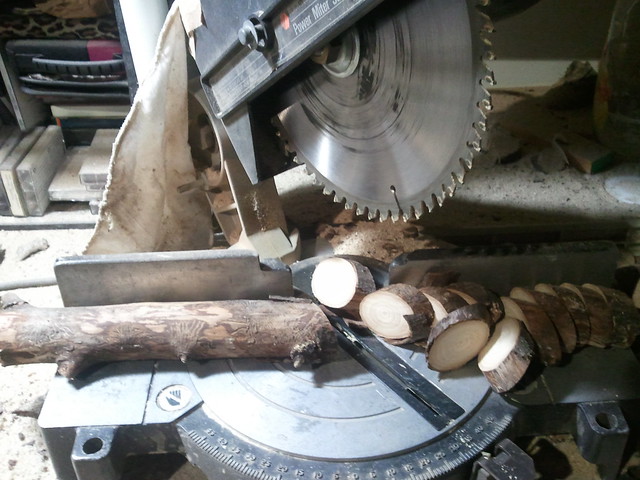
First go to the hardware store and get a closet pole or dowel just the right size for you! The type of wood will be less important because you will want to polyurethane them for color and strength. Cut closet pole dowels down in 1/4" segments using a chop saw. Sawing slowly will ensure that the thinner wood will be cut smoothly. This photo is of the similar process using the chopsaw on branches for wooden ornaments cut at a 45, however buttons are just a straight cut. Marking the table of the saw with a piece of masking tape will help to ensure consistent measures.
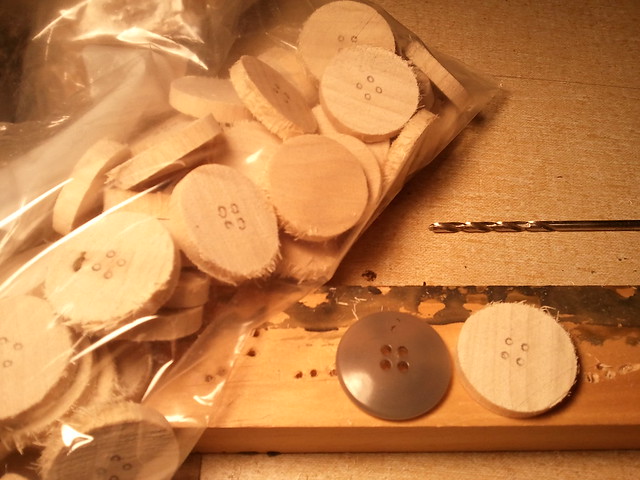
Use a pre-existing button to center on the button cuts, and trace the holes
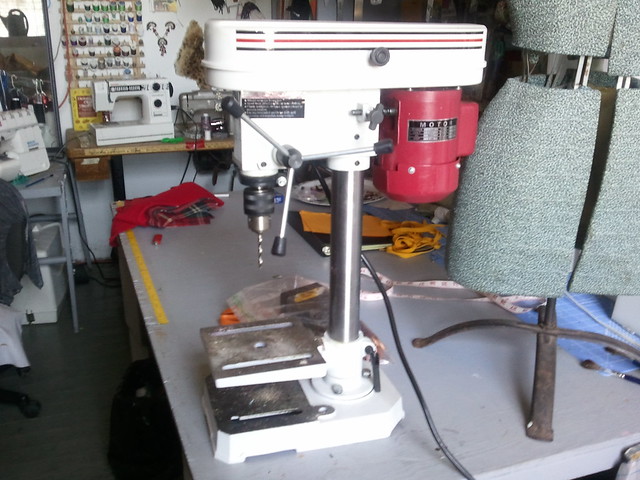
Use a regular drill to cut the holes, or a drill press if you have it! I was able to borrow this one from a friend:
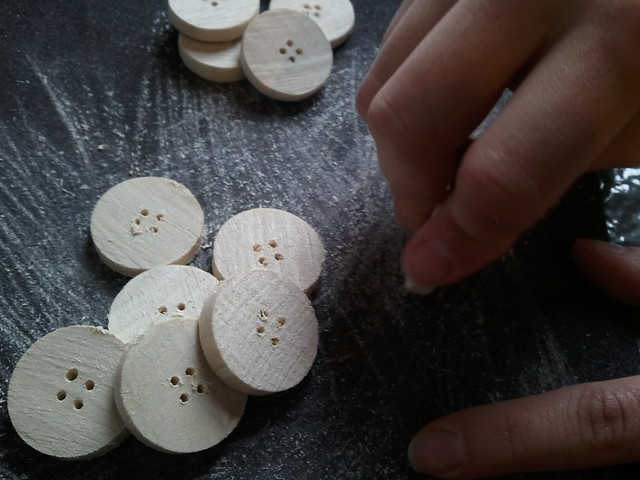
Individually sand down the edges of each button
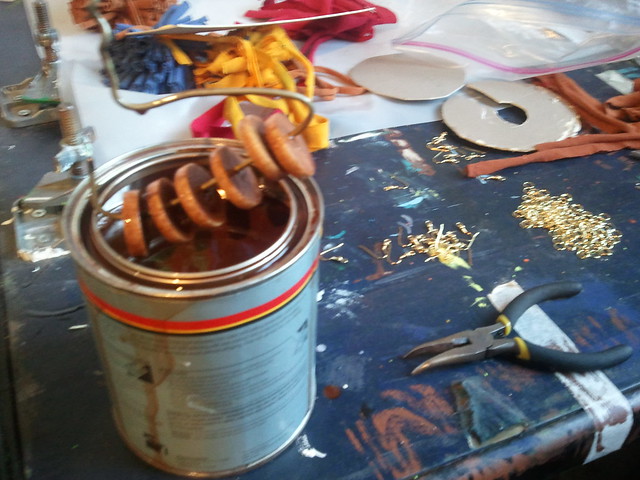
Attach each button to a wire hanger that has been cut down to a smaller size so that they will fit into the bucket of poly. I was able to create a few of these hangers to attach all 87 buttons and run them in sequence.

The button hangers can be dipped into a well stirred polyurethane paint bucket and hung to dry on a dowel over some wax paper. I would come back to the dripping hanger to dab the excess dripping off of the buttons before they would solidify. I dipped them about 3-4 times each.
Post-dip, the holes need to be re-punched, but not re-drilled. I used the drill press while it was off to punch them out again.
These buttons were used in the Madam Chino Spring Mens collection which can be viewed in the latter half of the post found HERE!