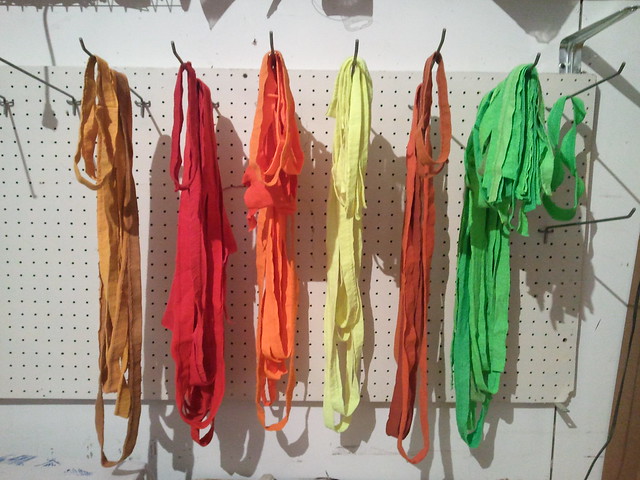
As in all great questions, better reasons motivate smarter resolutions. Why narrow strips? Yarn, necklaces, drawstrings, tank straps, belts, woven articles, and the plethora of options arising from the darling mother of invention herself: necessity, of tying loose ends.
Join Madam Chino in her NO-SWEAT Sewing Classes at the Craft Centre beginning next week Monday March 11, 2013 for 5 weeks from 6pm-8:30pm culminating to the Earth Day Runway Fashion Show on Earth Day Monday April 22nd at High Noon in the UWM Union Concourse. Sign up by calling the UWM Studio Arts and Crafts Centre at 414-229-5535 or by stopping in at their ground level location in the UWM Union suite WG30 2200 E. Kenwood Blvd, Milwaukee WI. They are open til 10pm on weeknights!
and check out their great SCHEDULE OF CLASSES and BLOG or like them on FACEBOOK plus+ see photos from previous classes HERE
LESSON ONE: FLIP A HEM:
Materials:
pre-existing hems
dowel (long and narrow)
tiny eye-screw
drill and tiny drill bit
fabric scissors
sewing thread
sewing needle
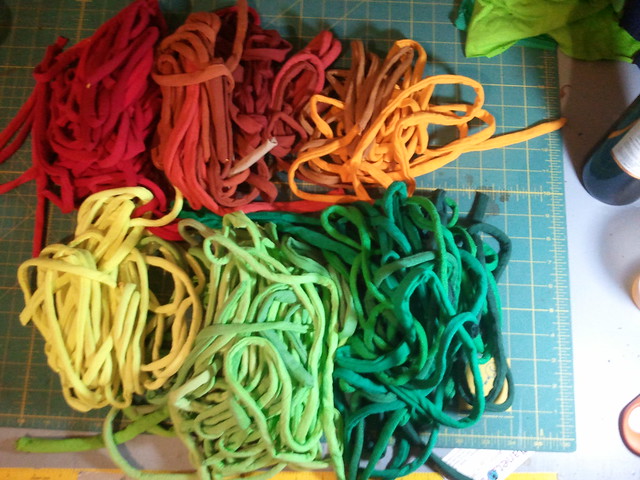
These hems which are so frequent in the world, are already sewn shut. What once seemed so uselessly jagged once removed from the article, is actually a pre-posed "thin strip". One could easily run a safety through a ribbon, slide it through the hem and stitch along the top, proceeding as shown below in lesson 2. However, this method is less tedious on fingers and requires only a tiny bit of hand-sewing.
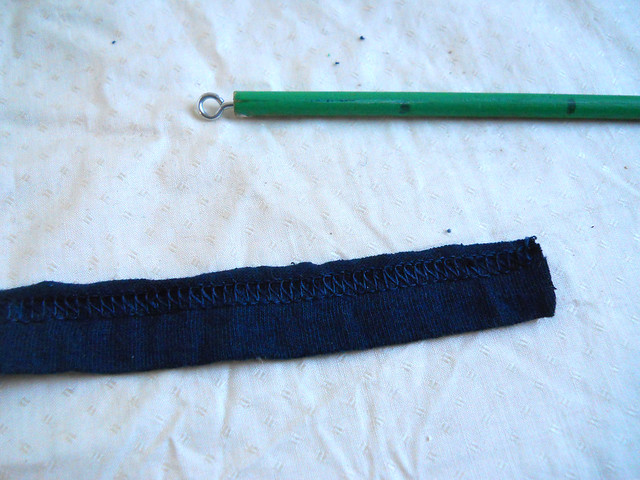
start with an eyelet screw in the end of a skinny dowel, and a hem from a t'shirt
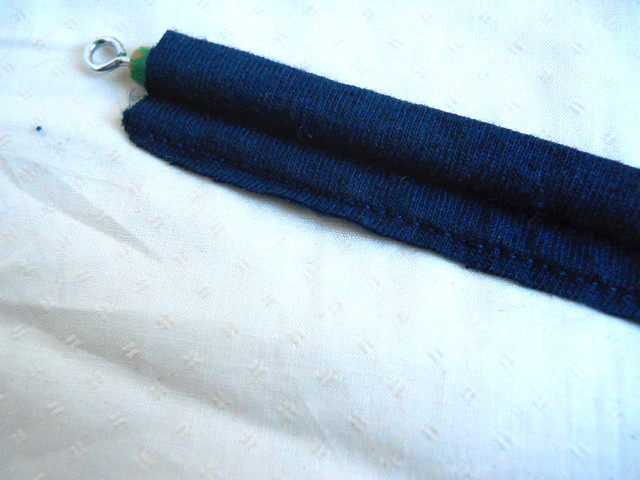
enter the dowel all the way through the interior of the hem:
pull the fabric over the eyelet, and stitch a secure knot with thread or floss
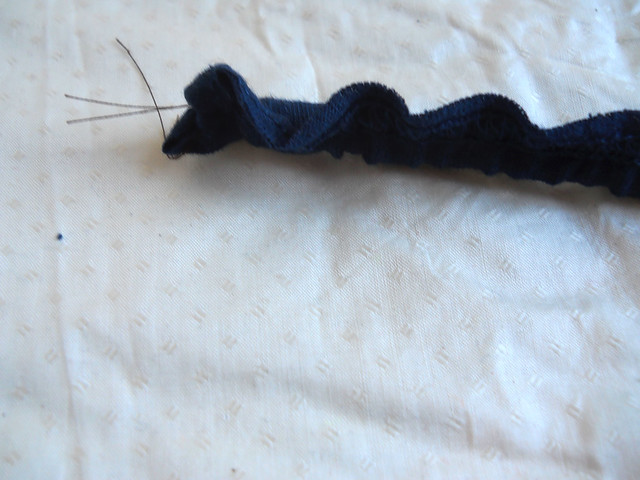
reverse the hem backward over the knot, starting at the eyelet.
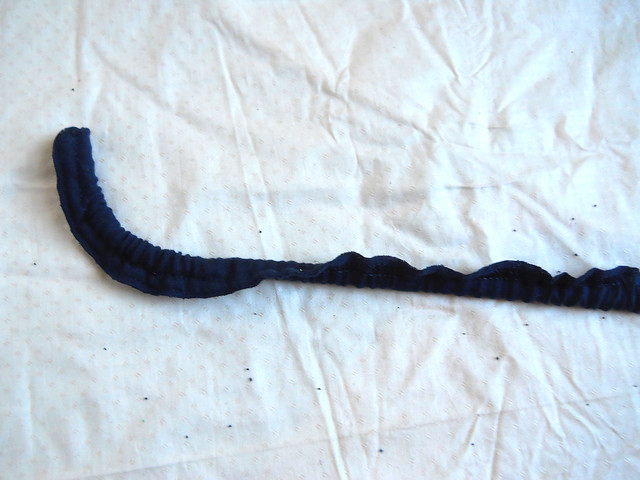
Inverting the cord is the most difficult part,

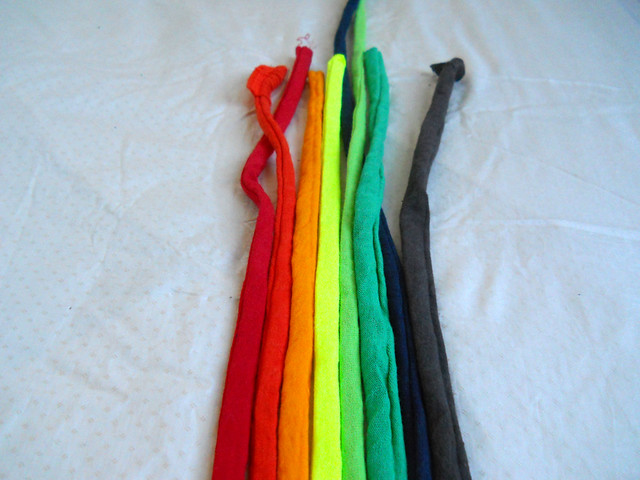
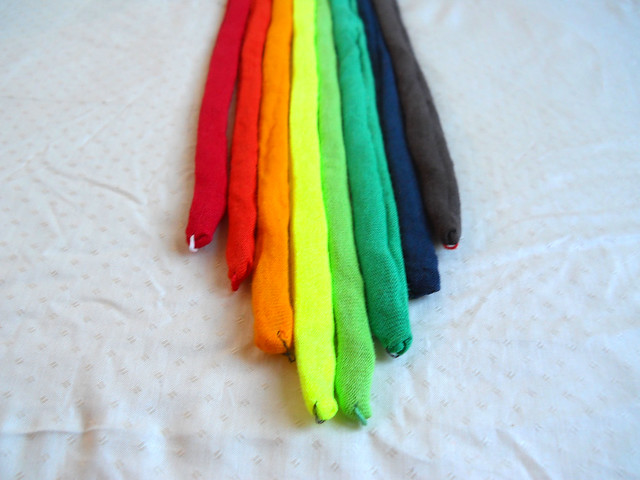
but once it is free, the fabric is easy to pull through, creating a small cord perfect for drawstrings or necklaces
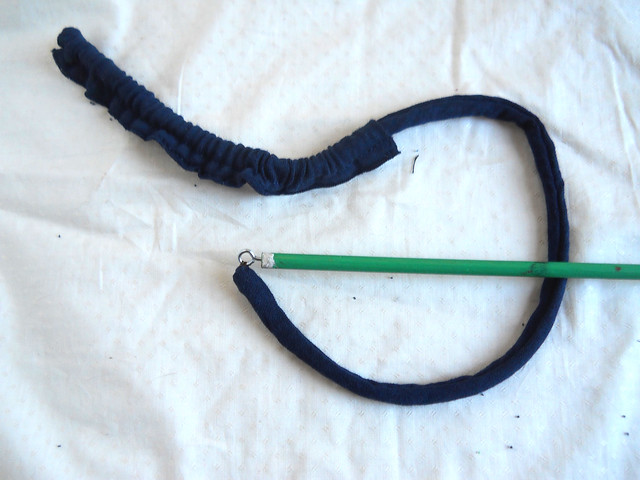
A fully inverted hem still attached to the dowel:
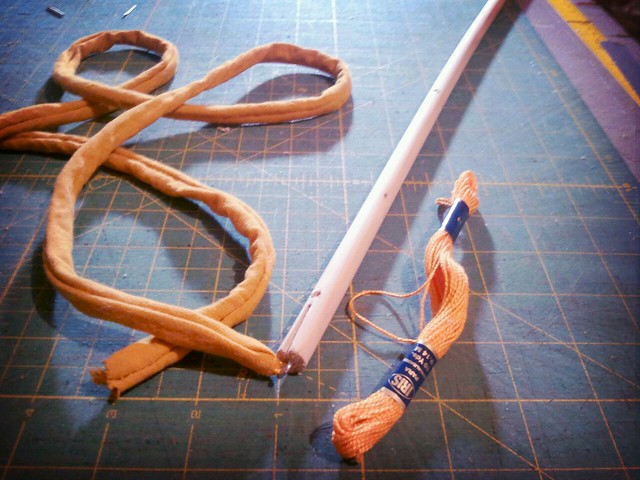
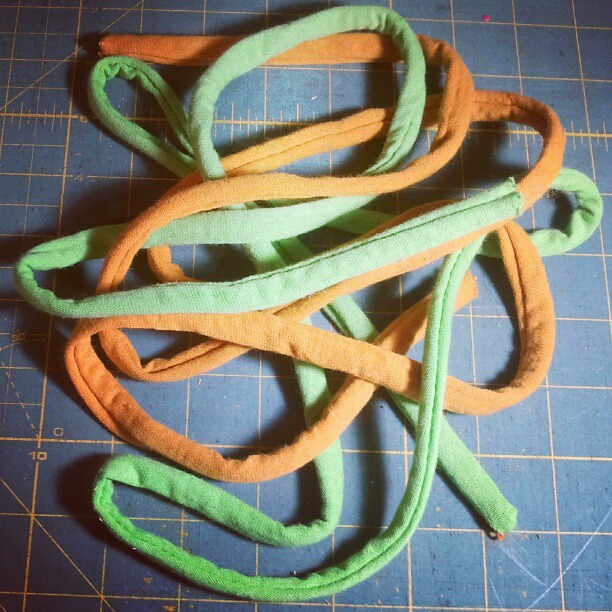
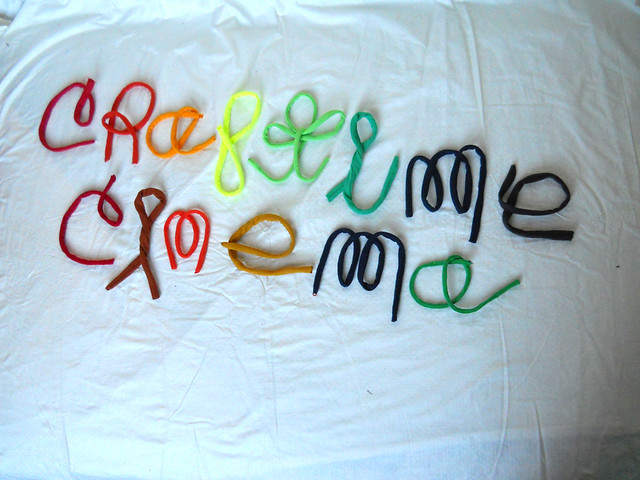
coming soon!!! Craftime Cinema with Madam Chino!
Please check out my post on other awesome uses for the best and most versatile tools in all the world: Dowels
LESSON TWO: STARTING FROM SCRATCH
MATERIALS:
fabric of length
fabric scissors/rotary cutting station
threaded machine
pins
ribbon
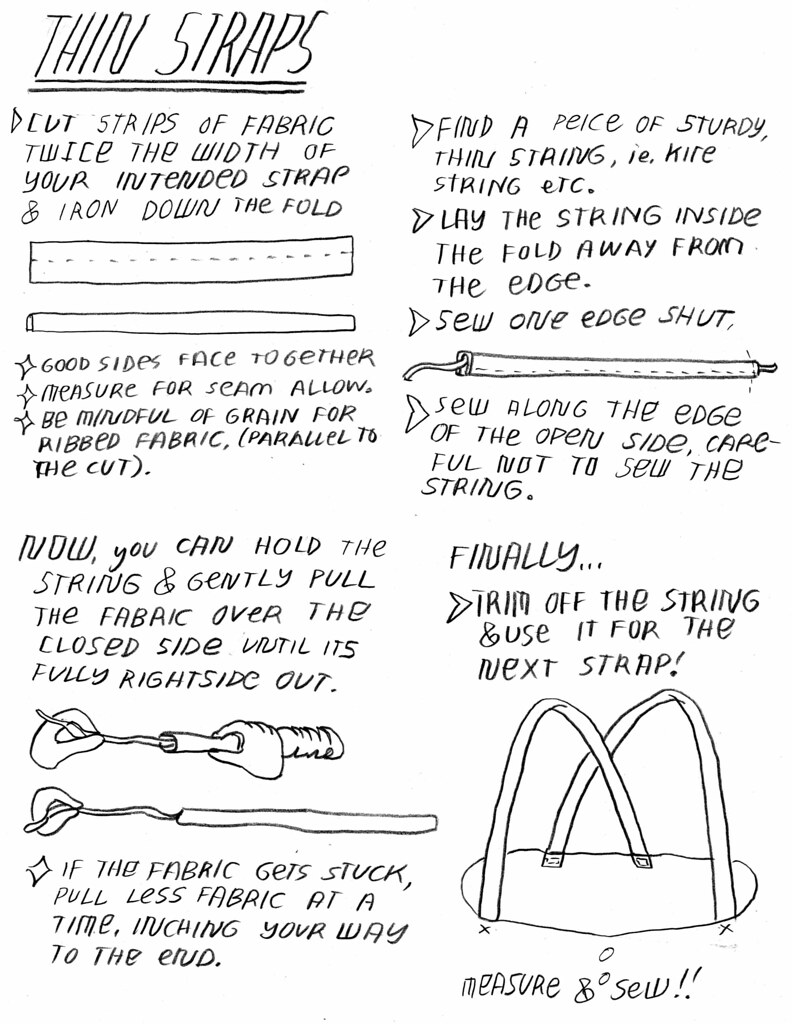
In order to flip a narrow strip with out using an obnoxious let alone poingy and dangerous untwisted coat-hanger, which may, at any point, loose its grip and thieve an hour or more of your time.
-Double the width of the final strap and add 1/4" on each side. Fold it like a hotdog (the long way) and stick a narrow piece of ribbon or yarn longer than the total strip length into the fold.
-Sew one of the short sides closed with the ribbon in the seam, then pivot the strip under the foot.
-Sew closed along the length-side within your seam allowance, using your finger to keep the ribbon tucked away in the tube.
-Trim the top of the stiched corner on a 45 degree angle on the seam allowance. This will allow it to turn inside-out on itself easier!
Now for the fun with hand positions correct:
-With your dominant hand, hold the ribbon.
-With your non-dominant hand in a cup formation around the tube an inch from the edge of the sewn corner.
-Pull the ribbon, and slide the tube inside of itself, drawing back inch-per-inch, over itself until completely right-side-out.
-Clip the excess ribbon away and tuck the open side in with a scissor-tip before top-stitching.
Follow the following YOU-Torial from my Basic Sewing Zine:
Thank You for paying attention!
See you soon!
Best,
Madam Chino
