
Sawing the sides off of a large pallet to detach them from the edges and create the proper length.
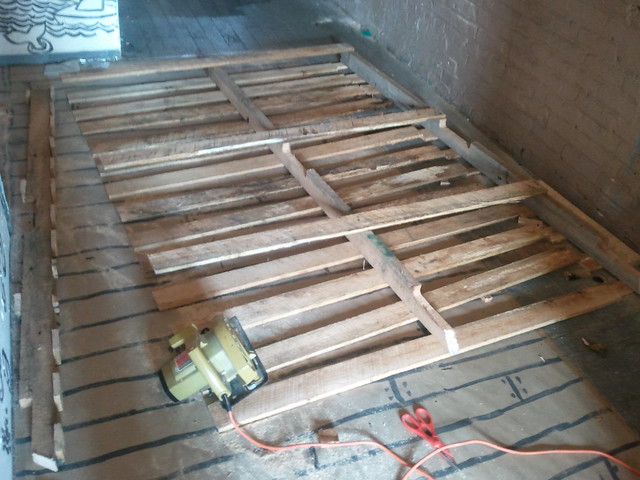
Finished sawing: now for the Sawzall, a handheld jiggy saw that can wedge into narrow spaces and cut through metal. The Sawzall is necessary to get the slats off the 2x4s with out cracking the boards. They cannot be pryed because the nails are too hefty and must be sawed through.
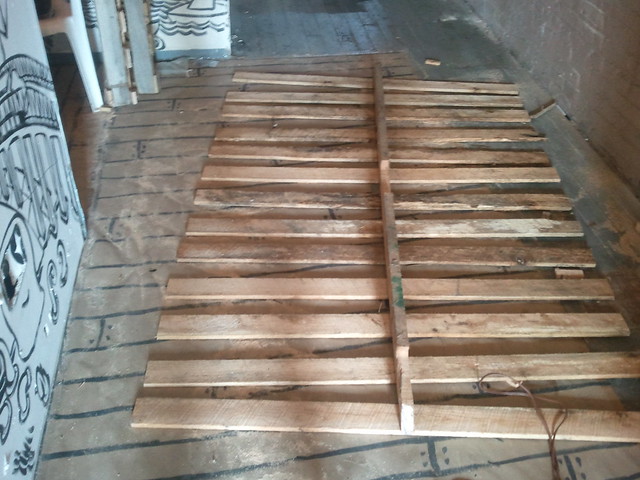
Deconstructing Pallets: The slats were all removed and must be re-screwed onto a new framework, which was long 2x4s drilled at the floor and ceiling vertically using L-brackets.
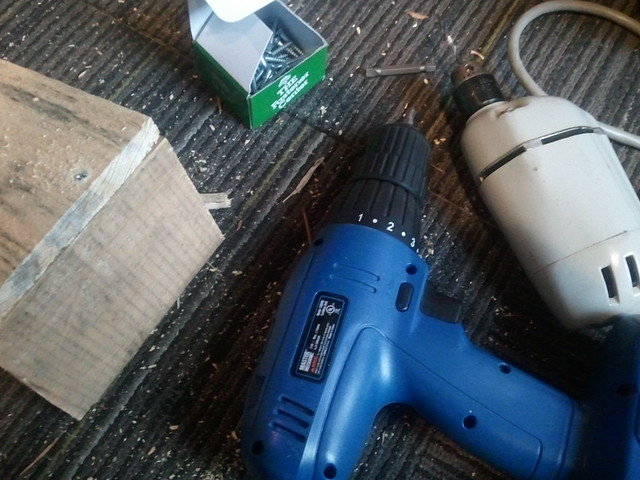
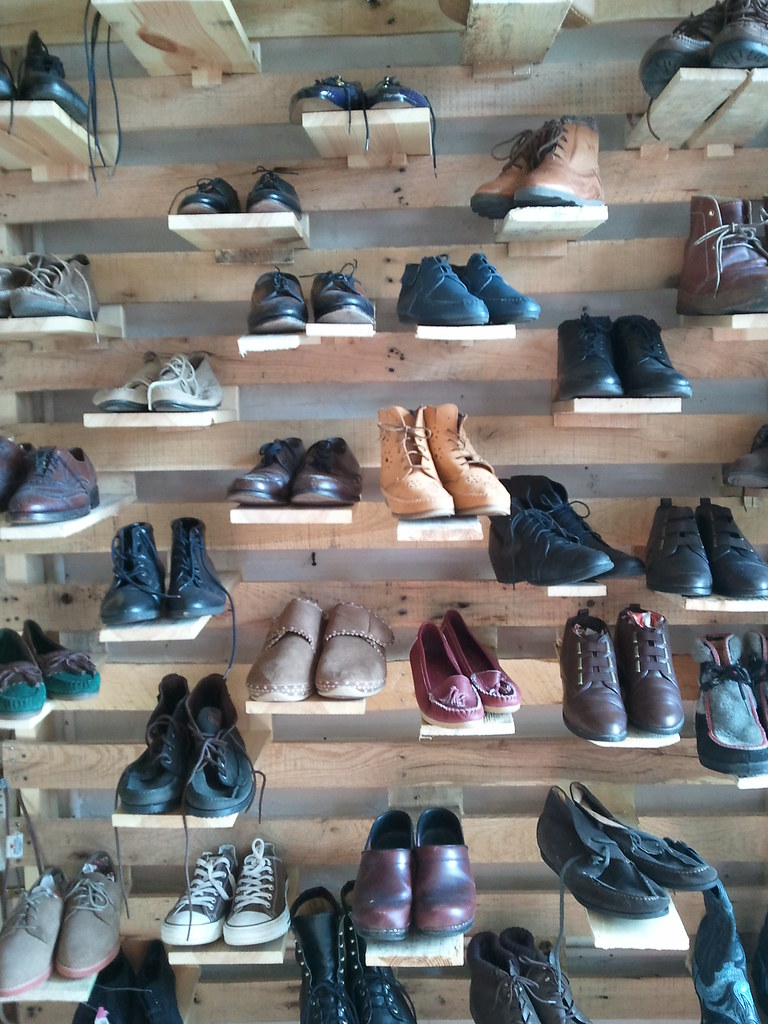
When reattaching the slats to the new framework, they need to be spaced approximately 2" apart in order to get the platforms in. I used a long level, balancing it on the first slat and working my way up. This is unpictured here, please view the latter photos for distancing. Luckily I have two drills, which makes the work go faster because one is used for drilling the holes, and the other is for screwing the screws in.
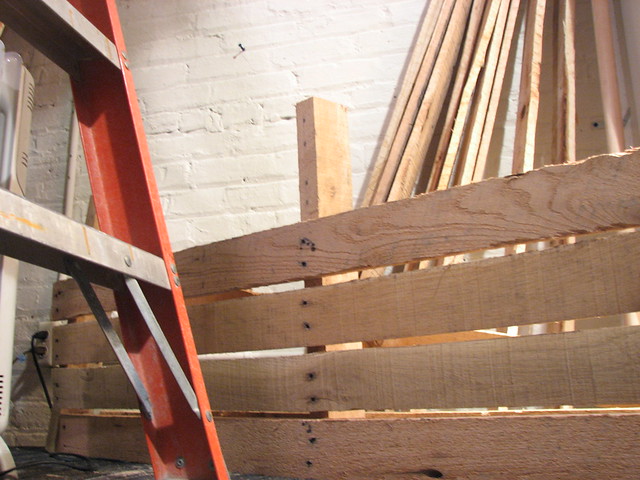
Next is creating the platforms aka "slatforms" which are sideways L-shapes with a small peg on the bottom to hold it outright against the slat below. Getting the proper length and color screws is the most essential aspect of success.
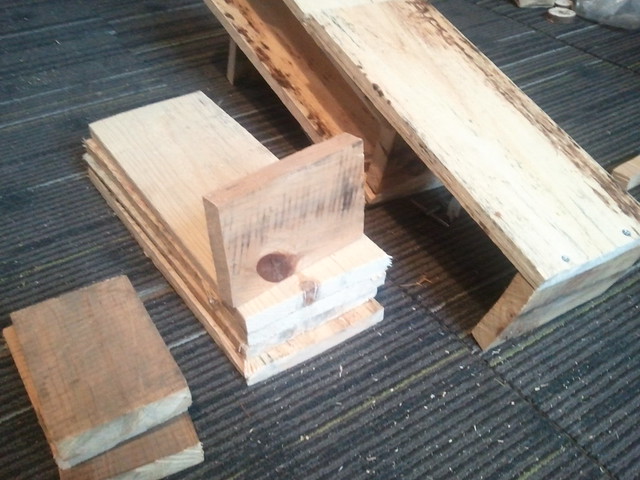
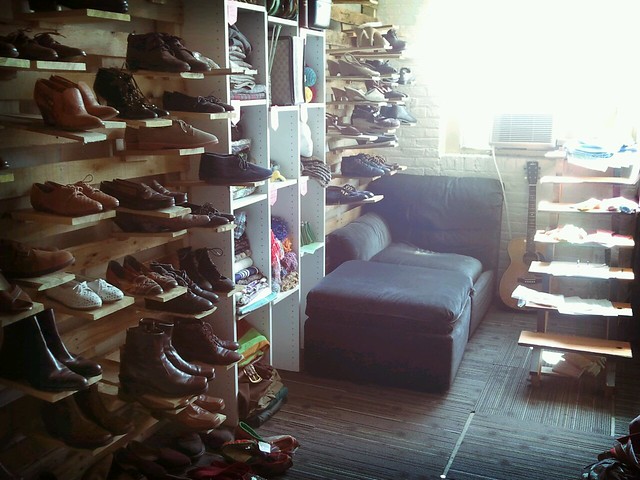
Finished: Shop with Shoes, and as you can see, the magic trick for making the L-shapes stand level to the floor, is that tiny little peg drilled in to the bottom with just the right size screw:
Finished: Filled with Amigurumi for a crochet animal show

Finished: Shop with Shoes
LOVE,
Vanessa Devaki Andrew
aka Madam Chino!