Thursday, January 31, 2013
Sunday, January 27, 2013
{FACT-ORY} Non-Fiction, Shop Developments
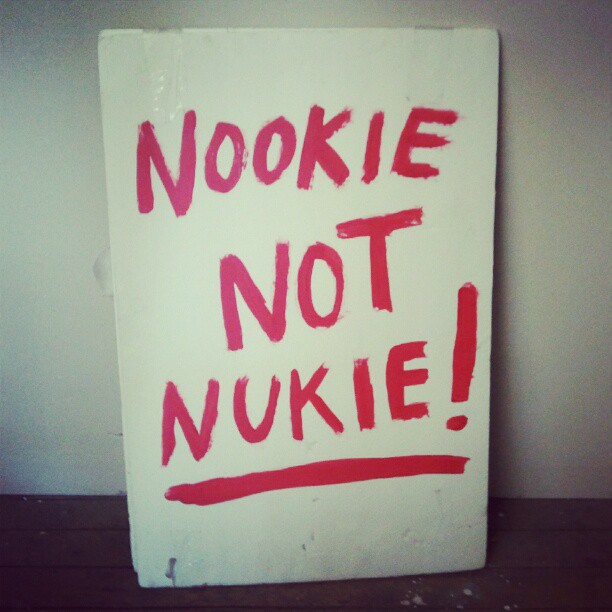
In lieu of lots to do, anxious hankerings complicate the room. The chapters for Madam Chino Spring Men and Womens Collections and Burnhearts MITTENFEST unfold from this little sneak preview. Explanitory notes to follow.
CHAPTER 1: FLIPPING HEMS
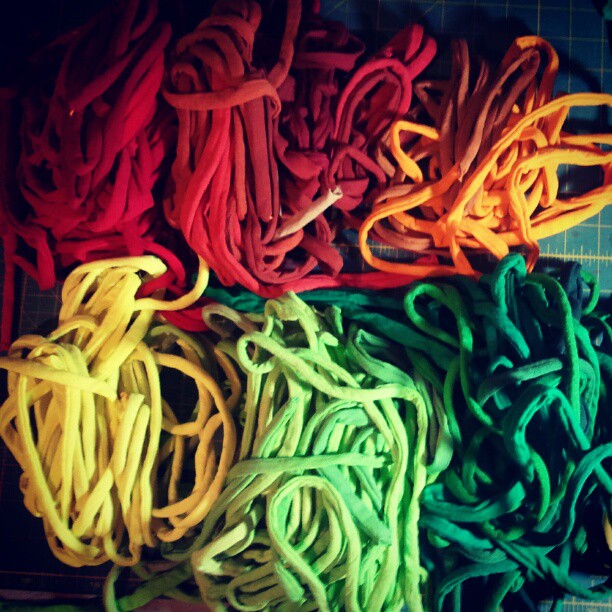
CHAPTER 2: COBBLING
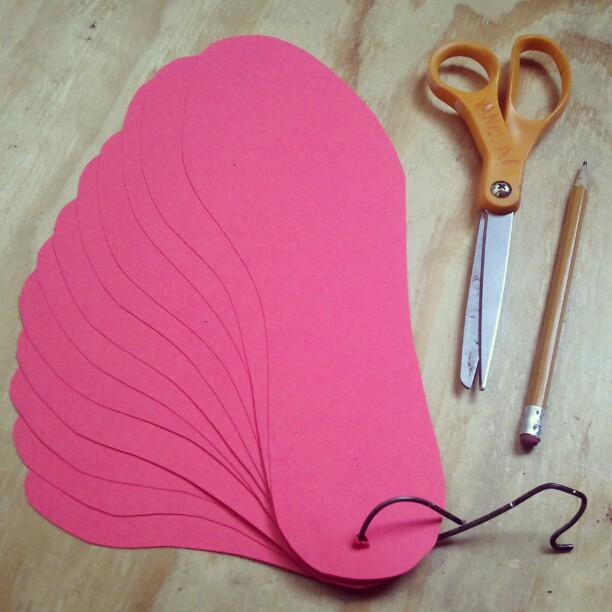
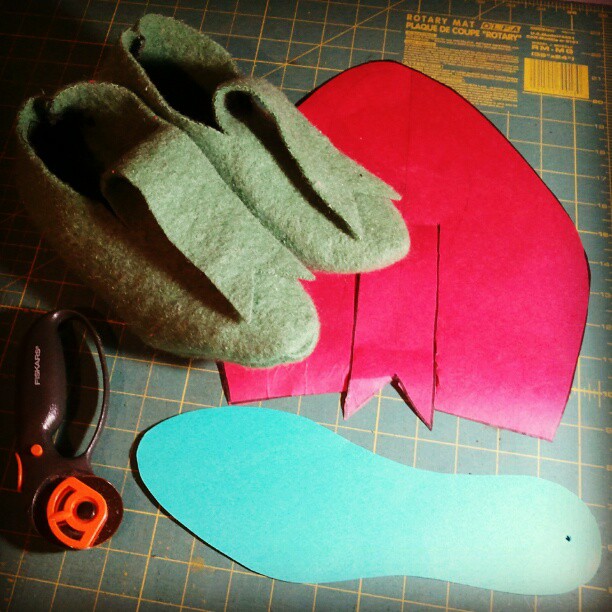
CHAPTER 3: CREATING A PERFORATING MACHINE
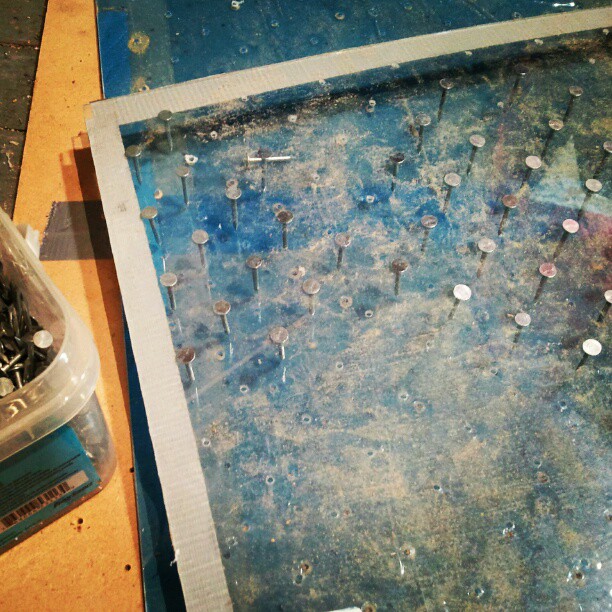
CHAPTER 4: USING THE JUKI

All aside Madam Chino's LOOK NOOK is OPEN 12-6pm every Saturday except Market Days annouced HERE, 100A E. Pleasant Street Suite 3W2 MKE WI 53212 USA
OPENING THE SHOP
MADAM CHINO
flickr, twitter, google+, facebook, instagram,
CHAPTER 1: FLIPPING HEMS

CHAPTER 2: COBBLING


CHAPTER 3: CREATING A PERFORATING MACHINE

CHAPTER 4: USING THE JUKI

All aside Madam Chino's LOOK NOOK is OPEN 12-6pm every Saturday except Market Days annouced HERE, 100A E. Pleasant Street Suite 3W2 MKE WI 53212 USA
OPENING THE SHOP

MADAM CHINO
flickr, twitter, google+, facebook, instagram,
Saturday, January 19, 2013
{ROCK-TEE} Look Nook Vintage Shop Update!
SUNDAY JANUARY 20TH
7PM CST
RIGATTIERE VINTAGE SHOP UPDATE
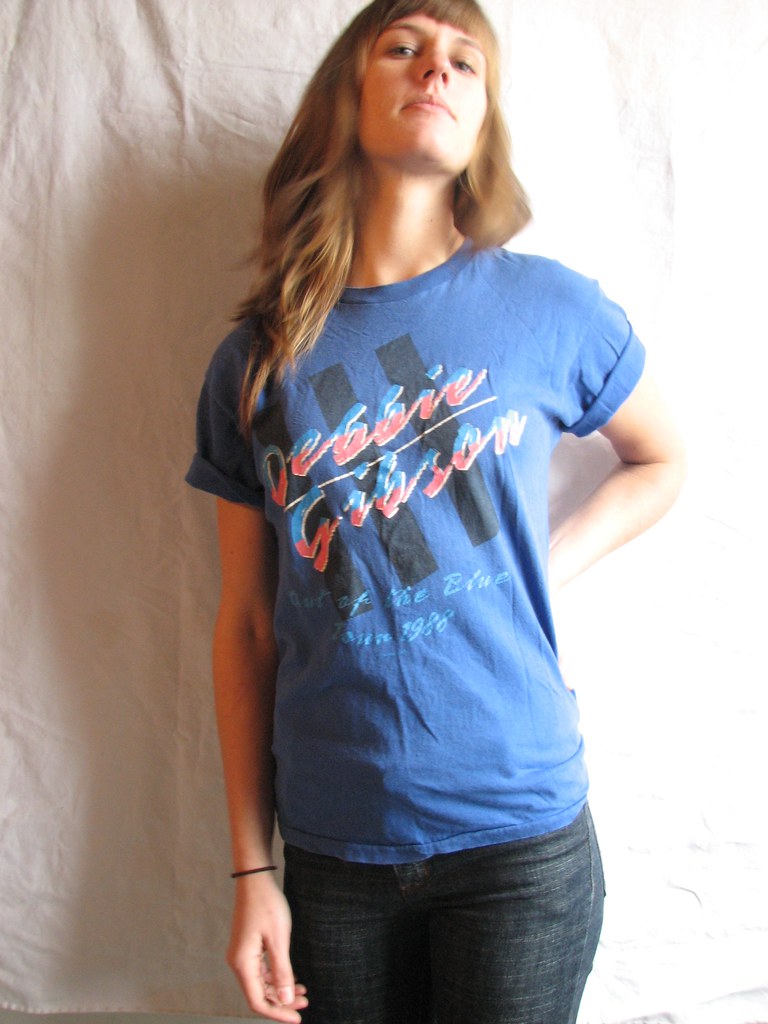
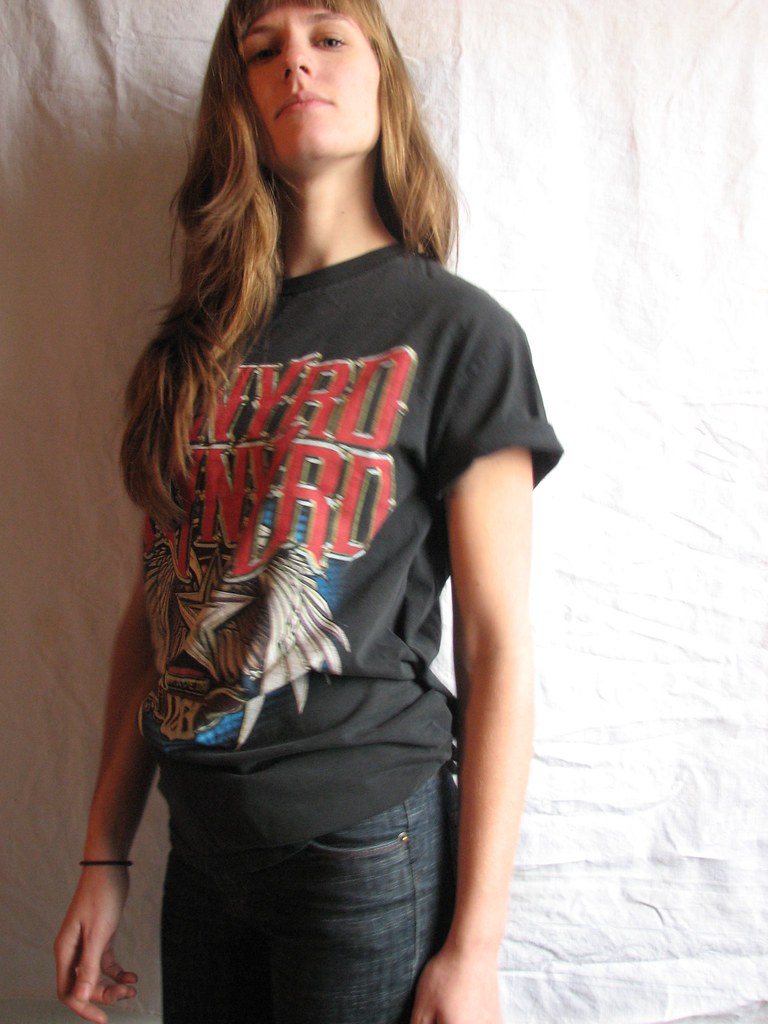
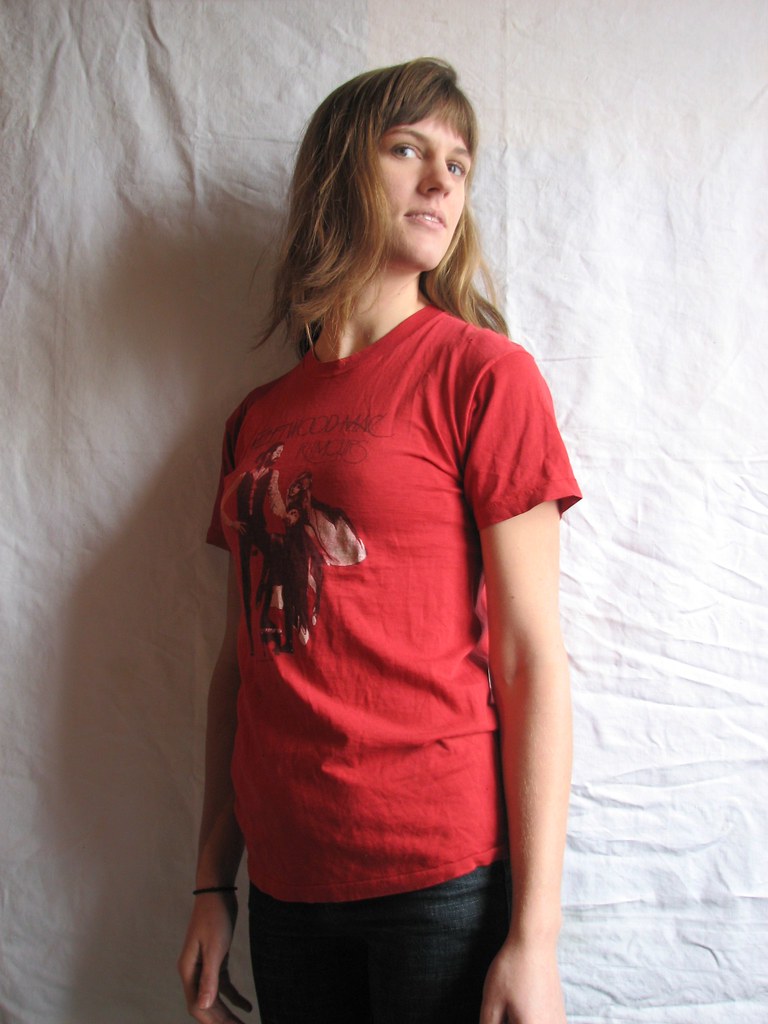
A COLLECTION OF ORIGINAL VINTAGE ROCK TEE'S
DEBBIE GIBSON 88
KISS 78

LA GUNS 88

CINDERELLA 91

LYNYRD SKYNYRD
GUNS'N'ROSES

ROLLING STONES

BRUCE HORNSBY 93

NIRVANA BLEACH

FLEETWOOD MAC "RUMOURS"
7PM CST
RIGATTIERE VINTAGE SHOP UPDATE
A COLLECTION OF ORIGINAL VINTAGE ROCK TEE'S
DEBBIE GIBSON 88

KISS 78

LA GUNS 88

CINDERELLA 91

LYNYRD SKYNYRD

GUNS'N'ROSES

ROLLING STONES

BRUCE HORNSBY 93

NIRVANA BLEACH

FLEETWOOD MAC "RUMOURS"

Thursday, January 17, 2013
Saturday, January 12, 2013
{PALLET SLATFORMS} Upcycled Pallet Slatwall Design
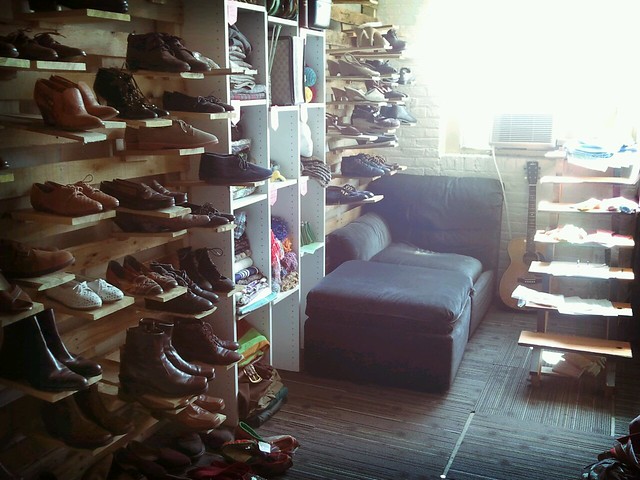
This is a design idea that I invented, designed, tested and implemented in the Madam Chino LOOK NOOK showroom, as a way to upcycle wooden pallets and showcase items for sale. The idea emerged from a simple understanding of physics and slat-walls typically used in stores for hanging inventory on hooks.
Sawing the sides off of a large pallet to detach them from the edges and create the proper length.
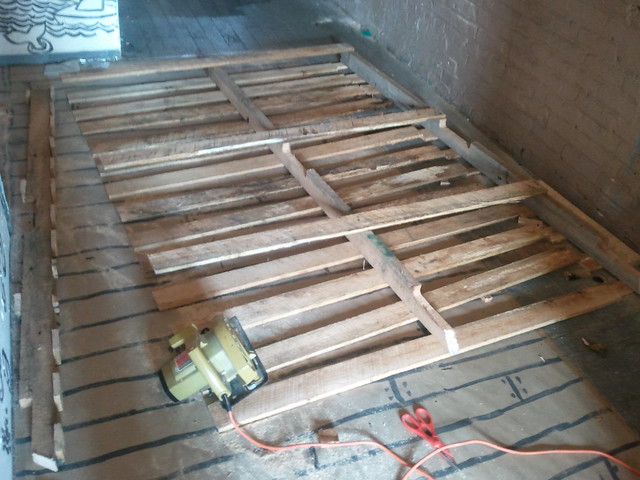
Finished sawing: now for the Sawzall, a handheld jiggy saw that can wedge into narrow spaces and cut through metal. The Sawzall is necessary to get the slats off the 2x4s with out cracking the boards. They cannot be pryed because the nails are too hefty and must be sawed through.
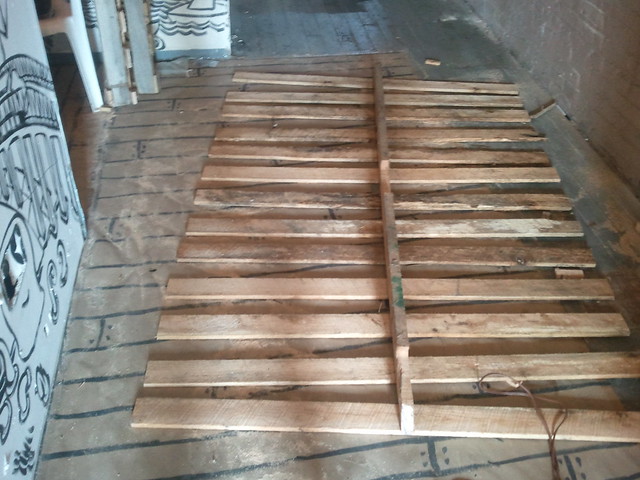
Deconstructing Pallets: The slats were all removed and must be re-screwed onto a new framework, which was long 2x4s drilled at the floor and ceiling vertically using L-brackets.
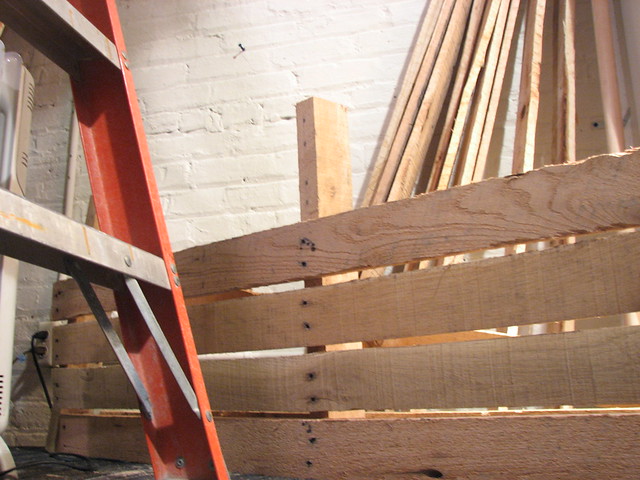
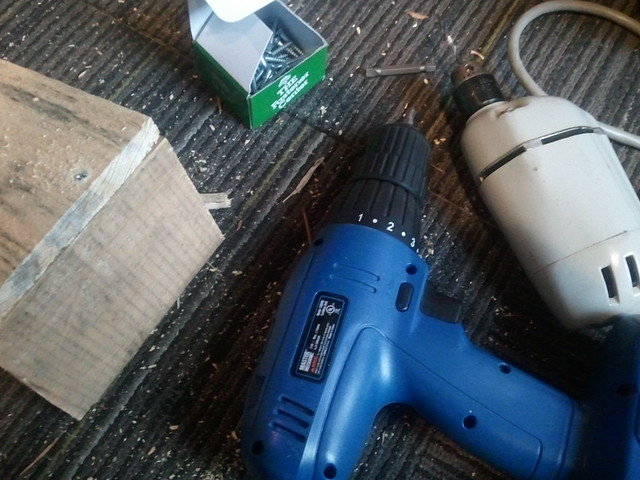
When reattaching the slats to the new framework, they need to be spaced approximately 2" apart in order to get the platforms in. I used a long level, balancing it on the first slat and working my way up. This is unpictured here, please view the latter photos for distancing. Luckily I have two drills, which makes the work go faster because one is used for drilling the holes, and the other is for screwing the screws in.
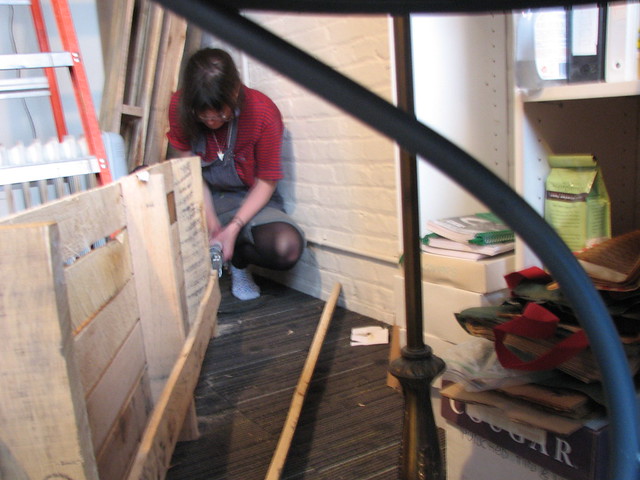
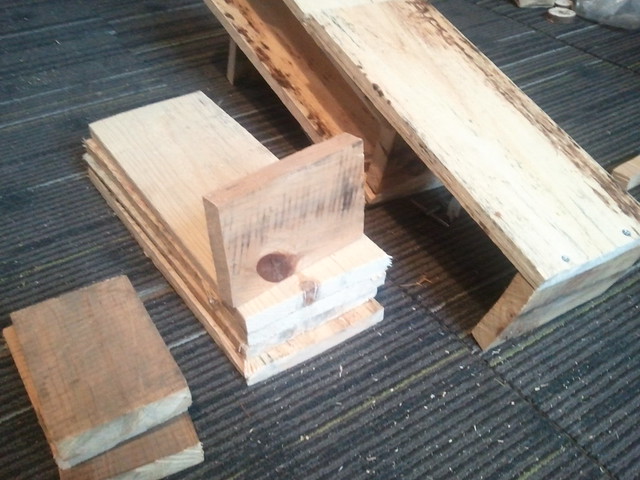
Next is creating the platforms aka "slatforms" which are sideways L-shapes with a small peg on the bottom to hold it outright against the slat below. Getting the proper length and color screws is the most essential aspect of success.
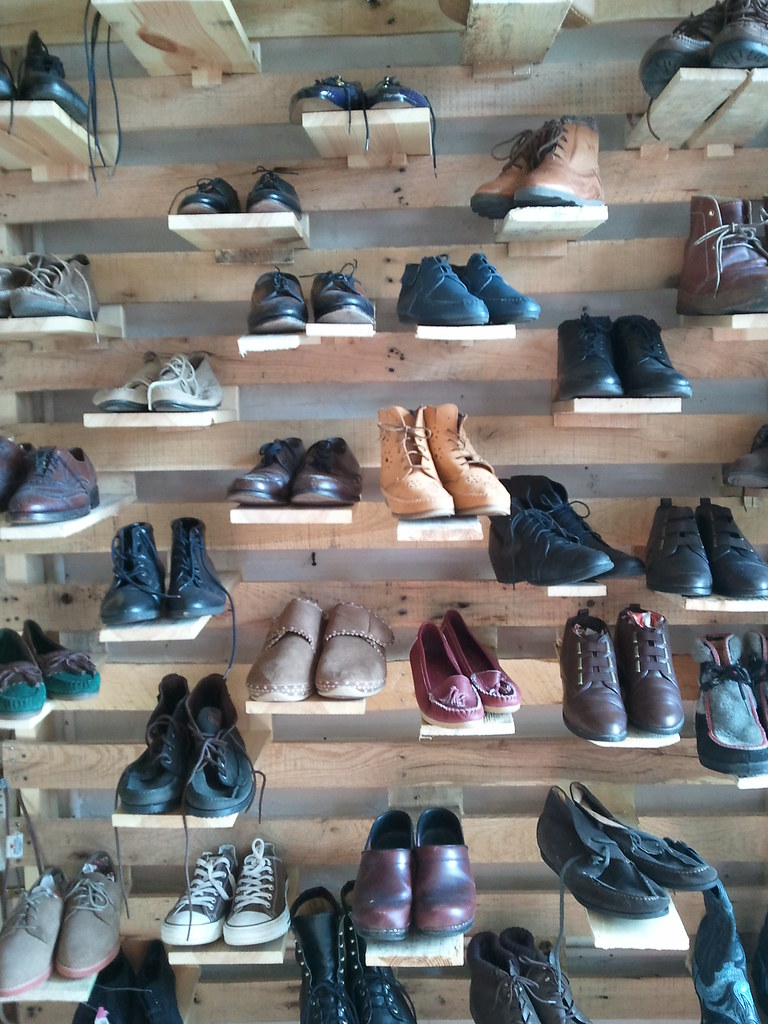
Finished: Shop with Shoes, and as you can see, the magic trick for making the L-shapes stand level to the floor, is that tiny little peg drilled in to the bottom with just the right size screw:
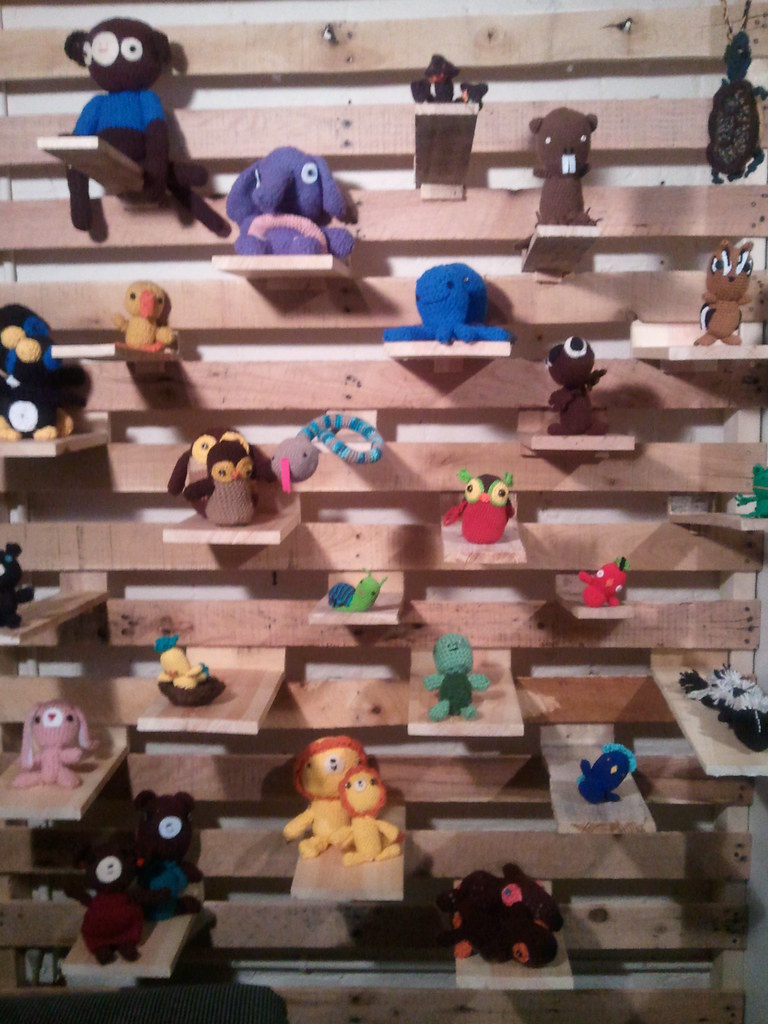
Finished: Filled with Amigurumi for a crochet animal show
Finished: Shop with Shoes
LOVE,
Vanessa Devaki Andrew
aka Madam Chino!
Sawing the sides off of a large pallet to detach them from the edges and create the proper length.

Finished sawing: now for the Sawzall, a handheld jiggy saw that can wedge into narrow spaces and cut through metal. The Sawzall is necessary to get the slats off the 2x4s with out cracking the boards. They cannot be pryed because the nails are too hefty and must be sawed through.

Deconstructing Pallets: The slats were all removed and must be re-screwed onto a new framework, which was long 2x4s drilled at the floor and ceiling vertically using L-brackets.

When reattaching the slats to the new framework, they need to be spaced approximately 2" apart in order to get the platforms in. I used a long level, balancing it on the first slat and working my way up. This is unpictured here, please view the latter photos for distancing. Luckily I have two drills, which makes the work go faster because one is used for drilling the holes, and the other is for screwing the screws in.

Next is creating the platforms aka "slatforms" which are sideways L-shapes with a small peg on the bottom to hold it outright against the slat below. Getting the proper length and color screws is the most essential aspect of success.


Finished: Shop with Shoes, and as you can see, the magic trick for making the L-shapes stand level to the floor, is that tiny little peg drilled in to the bottom with just the right size screw:

Finished: Filled with Amigurumi for a crochet animal show

Finished: Shop with Shoes

LOVE,
Vanessa Devaki Andrew
aka Madam Chino!
Subscribe to:
Comments (Atom)


